
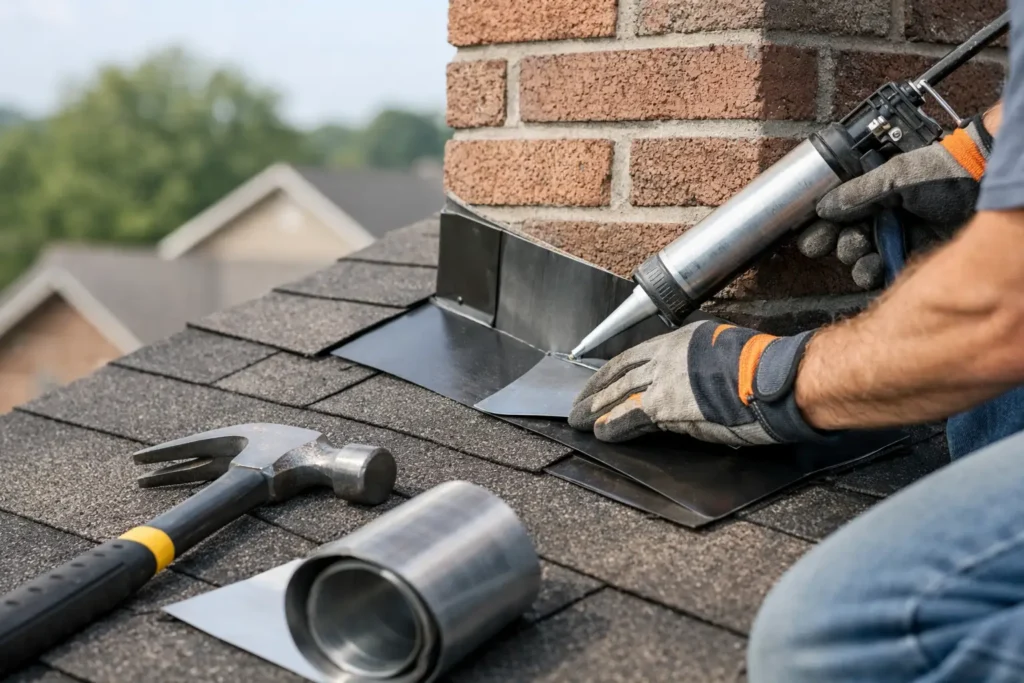
A roof leak rarely starts with a dramatic hole in the shingles. More often, it begins at a joint, an edge, or a transition point where water finds the smallest opening and keeps working at it. That is why a good roof flashing repair guide matters. Flashing is one of the hardest-working parts of your roofing system, and when it fails, water can get behind shingles, around chimneys, near skylights, or along walls long before the damage is obvious inside.
For homeowners in places with strong wind, snow, freeze-thaw cycles, and sudden storms, flashing problems are not something to shrug off until next season. A small gap in metal or sealant can turn into rotten decking, stained ceilings, insulation damage, and mold concerns. The good news is that flashing issues are usually visible once you know where to look, and early repairs are often far less expensive than waiting.
What flashing does and why it fails
Roof flashing is usually made from metal and installed wherever the roof changes direction or meets another surface. You will find it around chimneys, plumbing vents, dormers, skylights, valleys, and where a roof meets a wall. Its job is simple – direct water away from vulnerable seams and back onto the roof where it can drain properly.
When flashing fails, the cause is not always the metal itself. Sometimes the flashing was installed incorrectly. Sometimes the surrounding shingles wear out first. In other cases, fasteners loosen, sealant cracks, or repeated expansion and contraction opens up small pathways for water. Wind can lift edges. Ice can push water backward. Older patchwork repairs can also create problems by trapping water instead of shedding it.
That is why flashing repair is rarely just about smearing more caulk on a suspect spot. A proper repair depends on what failed, how long it has been leaking, and whether the surrounding roofing materials are still in good condition.
Roof flashing repair guide: what homeowners should check first
If you suspect a leak, start with the safest and most obvious signs. Inside the house, look for ceiling stains, peeling paint near upper walls, damp attic insulation, or a musty smell after rain. These clues can help narrow down the general area, but water often travels before it drips, so the leak may not be directly above the stain.
Outside, inspect from the ground first. Look for loose or lifted flashing, rust spots, missing shingles near valleys or walls, bent metal around chimneys, and sealant that appears dried out or split. Binoculars can help. If your roof is steep, high, or slick, stay off it. A leak is frustrating, but a fall is worse.
The most common trouble spots include step flashing along sidewalls, chimney flashing, vent pipe flashing, skylight flashing, and valley metal. Gutters matter too. If water is backing up because of clogged or damaged gutters, it can mimic or worsen a flashing issue.
Common flashing problems and the right repair approach
Not every flashing problem needs the same fix. In fact, one of the biggest mistakes homeowners make is treating all leaks like a sealant problem.
Cracked sealant or minor separation
If the flashing is still firmly in place and not corroded, a small area of failed sealant may be repairable without replacing the flashing itself. The old material needs to be cleaned away, the surface must be dry, and the new roofing sealant has to be compatible with the metal and surrounding materials. This is a narrow fix, not a blanket coating over everything in sight.
This type of repair works best when the flashing is relatively new and the issue is isolated. If the metal is warped, rusting, or loose, fresh sealant will only buy time.
Loose or lifted flashing
Flashing can pull away from the roof or wall due to wind, movement, poor fastening, or aging materials. When that happens, water can get underneath even if the metal still looks intact. A proper repair may involve lifting shingles, resetting or replacing the flashing, and fastening it correctly so water can continue to shed naturally.
This is where do-it-yourself work starts to get risky. Improper nailing or layering can create a bigger leak than the one you started with.
Rusted, punctured, or deteriorated metal
Once flashing is rusted through or physically damaged, replacement is usually the better choice. Patching corroded metal often leads to repeat leaks because the weakness extends beyond the visible hole. New flashing should be fitted to the specific area, integrated with underlayment where needed, and woven correctly with the roofing material.
Chimney flashing failure
Chimneys are one of the most leak-prone parts of a roof because they involve multiple flashing pieces and a masonry connection. Problems may involve step flashing, counter flashing, or the mortar joints that hold components in place. If a chimney is leaking, the repair may need both roofing and masonry attention. A quick surface patch around the base is rarely a lasting answer.
Vent boot failure
Plumbing vent flashing often includes a rubber boot that can crack from age and sun exposure. In many cases, replacing the boot or the full flashing assembly is straightforward for a professional and more dependable than trying to patch brittle rubber.
When a repair makes sense and when replacement is smarter
A practical roof flashing repair guide should be honest about this: sometimes the flashing is not the only issue. If your roof is already near the end of its service life, repeated flashing repairs may not be the most cost-effective move. New flashing installed into worn, brittle shingles is a compromise. It can help in the short term, but it does not reset the condition of the surrounding roof.
On the other hand, if the roof is still in solid shape and the damage is localized, targeted flashing repair can protect the roof for years. The decision depends on age, extent of water intrusion, roof design, and whether the area has been repaired before.
This is where a clear inspection matters. Homeowners deserve to know whether they are looking at a manageable repair, a recurring weak point, or signs of broader roof failure.
Why Southern Alberta weather is hard on flashing
Wind-driven rain, heavy snow, ice buildup, and sharp temperature swings all put stress on roof transitions. Flashing expands and contracts. Sealants dry out faster. Snow and ice can sit in valleys and around penetrations, forcing water into vulnerable seams. Strong winds can also lift shingles adjacent to flashing, exposing edges that were never meant to take direct weather.
That local weather pattern is one reason repairs should focus on durability, not just appearance. The goal is not to hide the problem until the next storm. The goal is to restore proper water shedding so the roof performs the way it should under real conditions.
What to expect from a professional flashing repair
A quality repair starts with identifying the true entry point of the leak. That may involve checking the attic, inspecting roof transitions, and looking for damage beyond the stain you noticed indoors. Once the source is confirmed, the repair should address both the flashing and any surrounding materials affected by the leak.
In some cases, that means replacing a small section of shingles to access and integrate new flashing properly. In others, it may involve resealing, refastening, or replacing specific components like vent flashing or chimney counter flashing. If decking or underlayment has been damaged, that should be part of the conversation too.
What homeowners should not accept is a vague repair with no explanation of what failed. Good contractors are direct. They show the problem, explain the fix, and tell you whether it is a long-term repair or a temporary measure.
For homeowners who want straightforward answers, that approach matters just as much as the repair itself. At HighLow Roofing & Exteriors, that means focusing on what protects the home best, not pushing work that is not needed.
A few mistakes worth avoiding
It is tempting to treat every leak with roofing tar or general-purpose caulk, especially when rain is in the forecast. Emergency patching has its place, but as a permanent solution it often causes more trouble than it solves. Trapped moisture, hidden corrosion, and poorly directed water can follow.
It is also easy to miss the source. Water entering near a chimney may show up at a ceiling light several feet away. Replacing shingles when the real problem is behind wall flashing will not stop the leak.
And finally, do not ignore small signs. A little staining, a loose metal edge, or a bit of lifted flashing can seem minor until the next freeze-thaw cycle opens it wider.
Roof flashing repair guide: when to call for help
Call for a professional inspection when you see interior water stains, notice visible flashing damage, or have leaks around chimneys, vents, skylights, or roof-to-wall intersections. It is also wise to schedule an inspection after a major windstorm or hail event, especially if your roof is older.
The sooner flashing problems are diagnosed, the more likely you are to avoid structural damage and a much larger repair bill. A well-done flashing repair is not just about stopping a current drip. It is about preserving the parts of your home that water reaches next if that detail fails.
If there is one useful rule to keep in mind, it is this: flashing problems reward early action. A careful repair done at the right time protects your roof, your insulation, your ceilings, and your peace of mind long after the storm passes.