
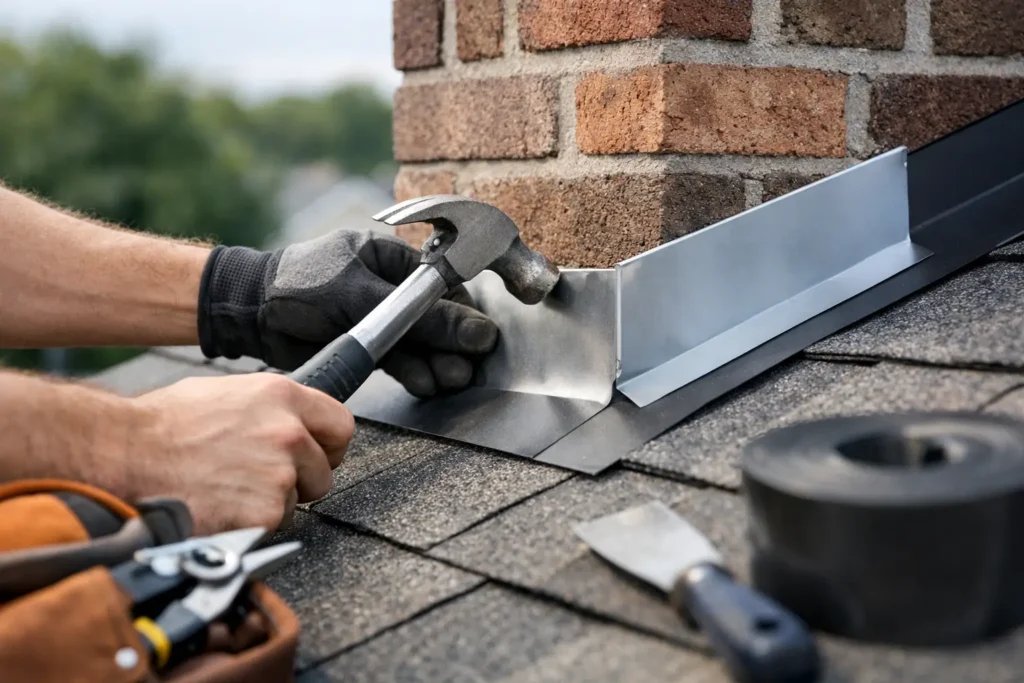
A small strip of metal can be the difference between a dry attic and a costly leak. That is why a homeowner guide to roof flashing matters more than most people realize. Flashing does not get the attention shingles do, but when water starts slipping in around chimneys, walls, vents, or valleys, flashing is often the first place to check.
For homeowners in places with snow, wind, heavy rain, and fast temperature swings, roof flashing is not a minor detail. It is one of the roof’s main waterproofing defenses. When it is installed correctly, it directs water away from vulnerable joints. When it is loose, rusted, cracked, or poorly sealed, water can reach the wood decking, insulation, drywall, and framing underneath.
What roof flashing actually does
Roof flashing is usually made from metal and placed anywhere your roofing system changes direction or meets another surface. Think of the areas around chimneys, skylights, plumbing vents, dormers, roof valleys, and the edge where a roof meets a wall. These are the spots where water naturally collects, runs faster, or tries to work its way under roofing materials.
Shingles are designed to shed water down the slope of the roof. Flashing handles the harder parts – transitions, seams, corners, and penetrations. It creates a path for water to move back onto the roof surface and off the home instead of into it.
That sounds simple, but flashing has to be shaped, layered, and fastened correctly. Good flashing work is not just about attaching metal. It is about understanding how water behaves during normal rain, ice buildup, wind-driven storms, and spring thaw.
A homeowner guide to roof flashing types
Not all flashing is the same, and that matters when you are looking at repairs or planning a roof replacement. Different parts of the roof need different styles.
Step flashing
Step flashing is used where a sloped roof meets a vertical wall, such as along a sidewall or dormer. It is installed in pieces, layered with each course of shingles. This allows water to move down the wall intersection without getting behind the roofing.
If step flashing is skipped or covered improperly, leaks often show up inside along adjacent walls or ceilings.
Valley flashing
Valleys handle a large volume of water because they collect runoff from two roof slopes. Valley flashing adds protection in this high-flow area. In some systems, the metal is visible. In others, it sits beneath the shingles as part of the underlayment and water-control system.
Valleys are especially sensitive to poor workmanship because even a small installation mistake can funnel water into the roof instead of off it.
Chimney flashing
Chimneys need several flashing components working together, including step flashing along the sides and counter flashing built into the chimney itself. This is one of the most leak-prone areas on many homes because masonry, roofing, and sealants all expand and contract differently over time.
Vent pipe flashing
Plumbing vents usually have a boot-style flashing with a metal base and a rubber or synthetic collar that seals around the pipe. These are common failure points because the collar can crack from UV exposure and age.
Drip edge and edge flashing
At the roof edges, flashing helps direct water into the gutters and away from fascia boards. Without proper edge metal, water can curl under the shingles and cause hidden wood rot along the perimeter.
Why roof flashing fails
In many cases, flashing itself is not the problem. The issue is how it was installed, how old it is, or what the weather has done to it over time.
Improper installation is one of the biggest causes of flashing failure. If pieces are lapped the wrong way, nailed in the wrong place, or paired with too much exposed sealant instead of correct metal layering, the system becomes vulnerable. A roof can look fine from the ground and still have flashing details that are allowing slow water entry.
Age is another factor. Metal flashing can rust, warp, or loosen. Sealants dry out and split. Rubber vent boots become brittle. If the roof is older, flashing problems are more likely to show up around penetrations and transition points before the entire roof system fails.
Weather plays a major role too. Freeze-thaw cycles, strong wind, hail, and ice buildup all put stress on flashing. In climates like Southern Alberta, that repeated expansion and contraction can open gaps that were not visible a season earlier.
Signs your flashing may need attention
Most homeowners do not inspect flashing closely until a stain appears on the ceiling. By then, the leak may have been active for a while.
A few warning signs are worth paying attention to. Water stains near chimneys, skylights, or upper walls often point to flashing trouble. So do damp attic spots after storms, peeling paint near rooflines, or shingles that seem to be lifting around roof penetrations.
From the outside, rust, bent metal, missing sections, exposed fasteners, cracked sealant, or separated flashing joints all deserve a closer look. You may also notice granule loss or wear in valleys, where water flow is heaviest.
It depends on the age of the roof, but small flashing issues can turn into larger structural repairs if they are ignored. Catching them early is almost always less expensive than waiting for visible interior damage.
Repair or replace?
This is where homeowners often want a straight yes or no answer, but the right choice depends on the condition of the surrounding roof.
If the roof is generally in good shape and the problem is limited to one area, a targeted flashing repair may be the smart move. Replacing a damaged vent boot, resealing a chimney flashing assembly, or correcting a localized step flashing issue can extend the roof’s life without a full replacement.
If the roof is older or already showing widespread wear, patching flashing may only buy limited time. New flashing tied into aging shingles can be a temporary fix rather than a lasting one. In those cases, replacing the roof and flashing together often makes more sense because the system can be rebuilt as one integrated water-shedding assembly.
This is also why flashing should never be treated as an afterthought during reroofing. Reusing old flashing to save money can create trouble later, especially around chimneys, walls, and valleys. Sometimes reuse is acceptable, but only if the material is in excellent condition and the details still meet the needs of the new roof system.
Why workmanship matters so much
Roof flashing is one of those parts of a home where craftsmanship shows up in the results, not the appearance. A neat-looking roof can still leak if the flashing details underneath were rushed.
Good roofing crews think about drainage paths, material compatibility, fastening locations, underlayment transitions, and long-term movement. That is especially important in climates where roofs face snow loads, wind exposure, and big seasonal swings. The goal is not just to stop a leak today. It is to build details that still perform years from now.
For homeowners, this means estimates should include more than shingle color and square footage. Ask how flashing will be handled at chimneys, walls, valleys, skylights, and vent penetrations. Clear answers are a sign that the contractor is looking at the whole protection system, not just the most visible layer.
How to protect your roof flashing longer
You do not need to become a roofing expert to stay ahead of flashing problems. A visual check from the ground after major storms is a good habit. If you see loose metal, lifted shingles, or debris buildup in valleys, it is worth scheduling an inspection.
Regular roof maintenance also helps. Keeping gutters clear reduces backup at roof edges. Trimming overhanging branches lowers the chance of impact damage. If you have masonry chimneys, keeping the mortar and cap in good condition can also reduce water intrusion around flashing areas.
Most of all, do not rely on caulk as a long-term cure. Sealant has its place, but flashing should work because it is properly designed and installed, not because a bead of caulk is holding everything together.
When to call a roofing professional
If you suspect flashing damage, the safest move is to have it inspected before the next big storm. Leaks around flashing often start small and stay hidden until insulation is wet, decking softens, or interior finishes are damaged.
A professional inspection can tell you whether the problem is isolated, whether moisture has spread beyond the visible area, and whether repair or replacement gives you better value. For homeowners who want dependable answers without guesswork, that kind of clarity matters. Companies like HighLow Roofing & Exteriors understand that roof protection is not just about shingles. It is about every detail working together to keep your home dry, sound, and ready for the next season.
If there is one thing worth remembering, it is this: roof flashing may be one of the smallest parts of your roofing system, but it does some of the biggest work when the weather turns.